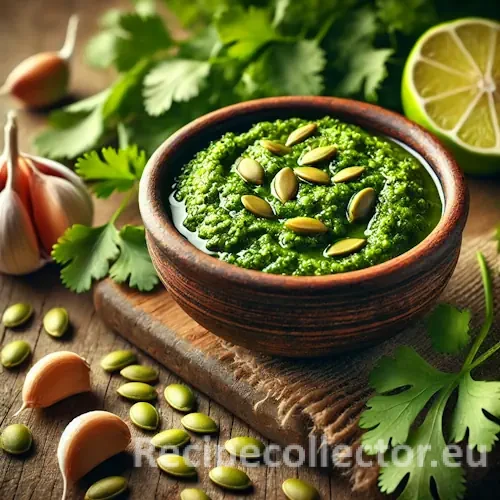
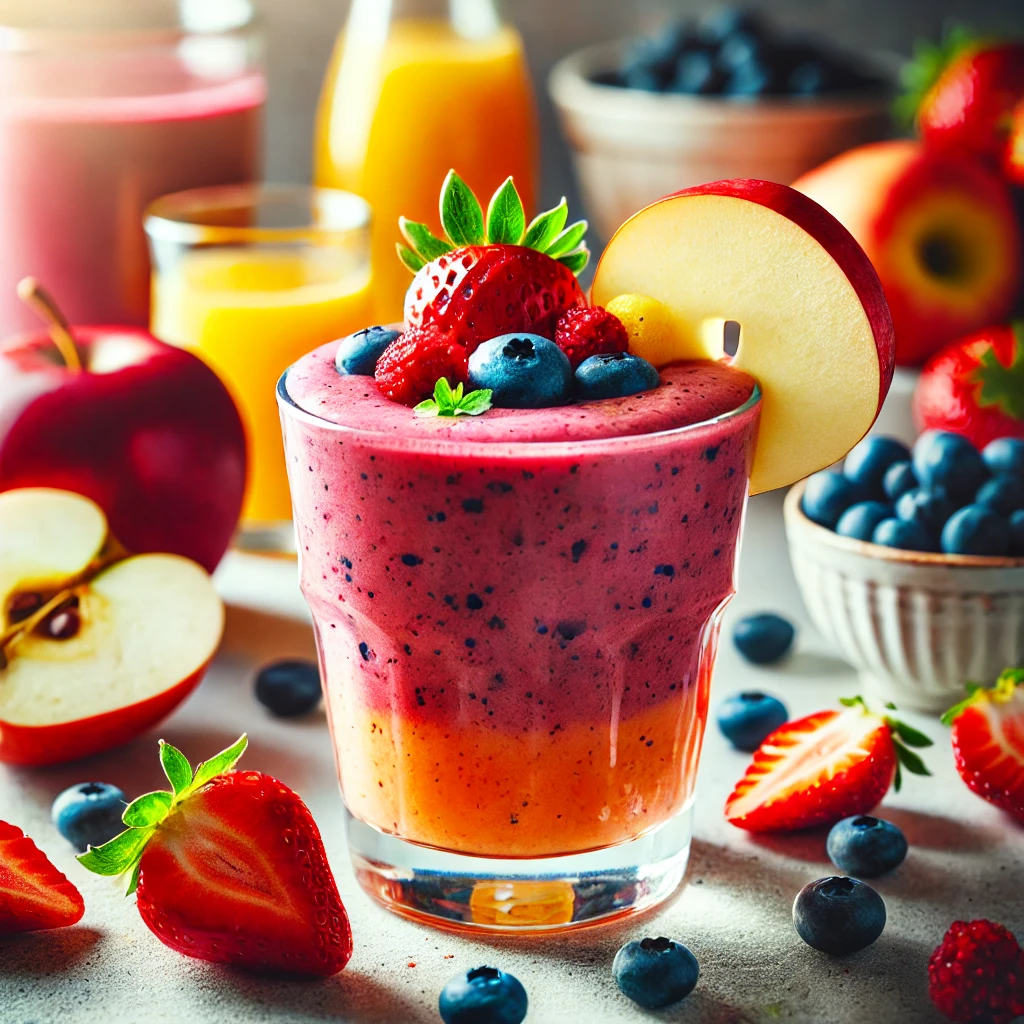
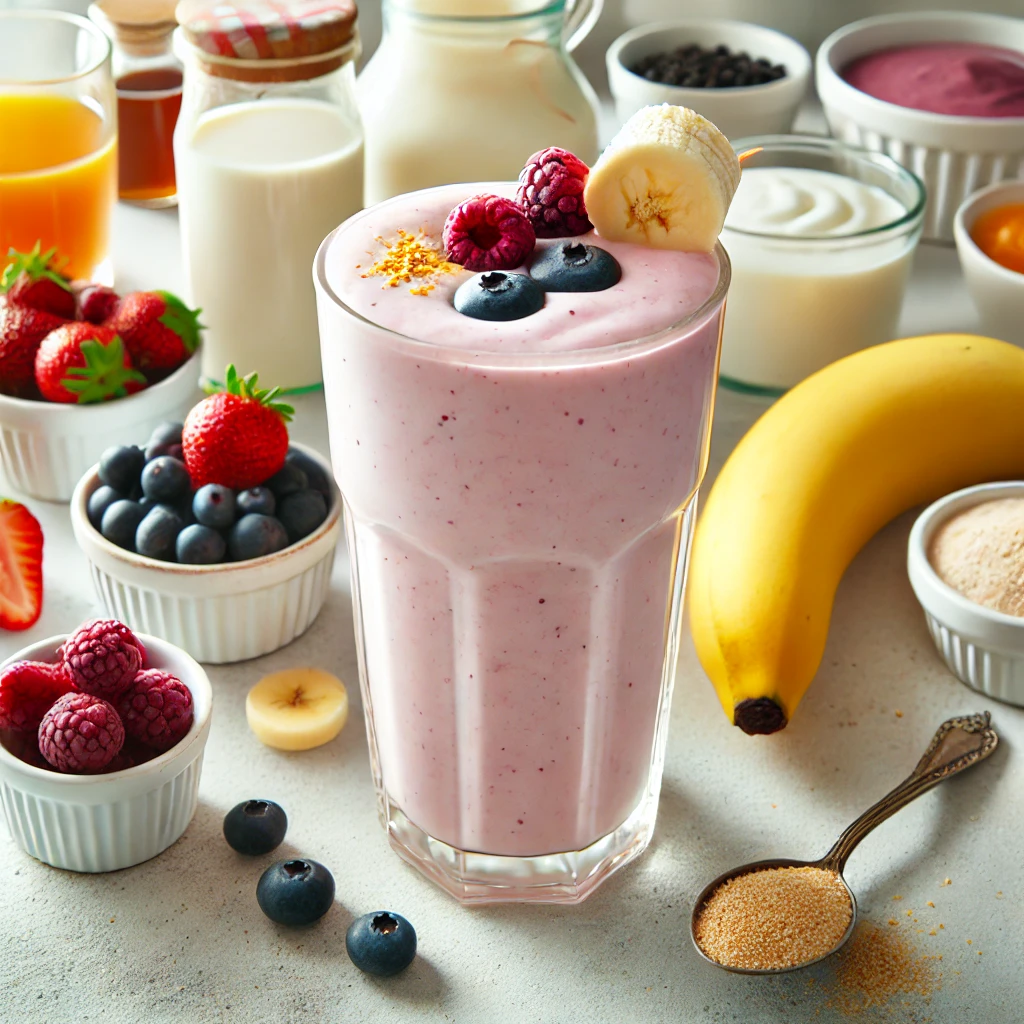
Cilantro–Pepita Green Magic Sauce Read More You May Also Like Hearty Turkey Chili november 9, 2024 Berry Peach Power Smoothie augustus 8, 2024 Martinique Pineapple Rum Cake with Buttercream Frosting augustus 19, 2024
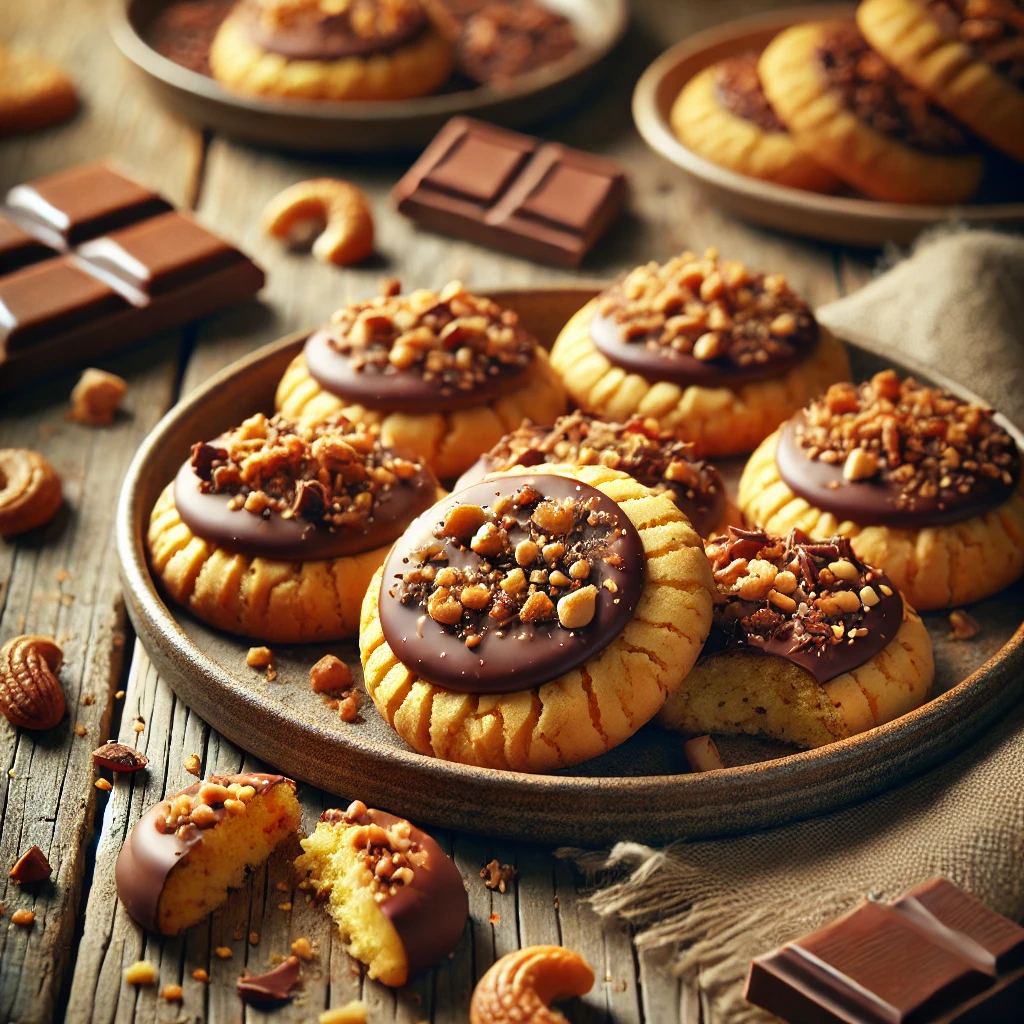
Broccoli Pesto Spread Read More You May Also Like Nutty Fruitcake februari 6, 2025 Butter-Nut Chocolate Topped Cookies augustus 3, 2022 Chili Water januari 28, 2025
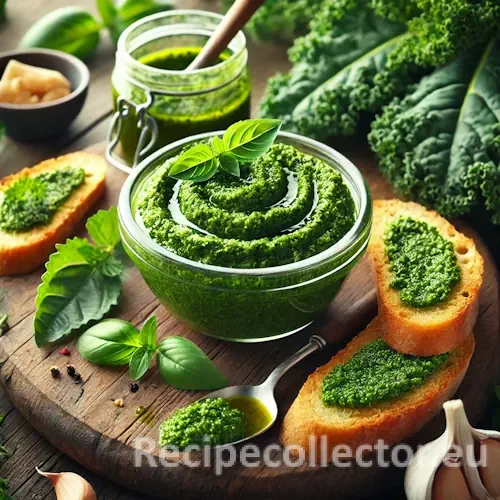
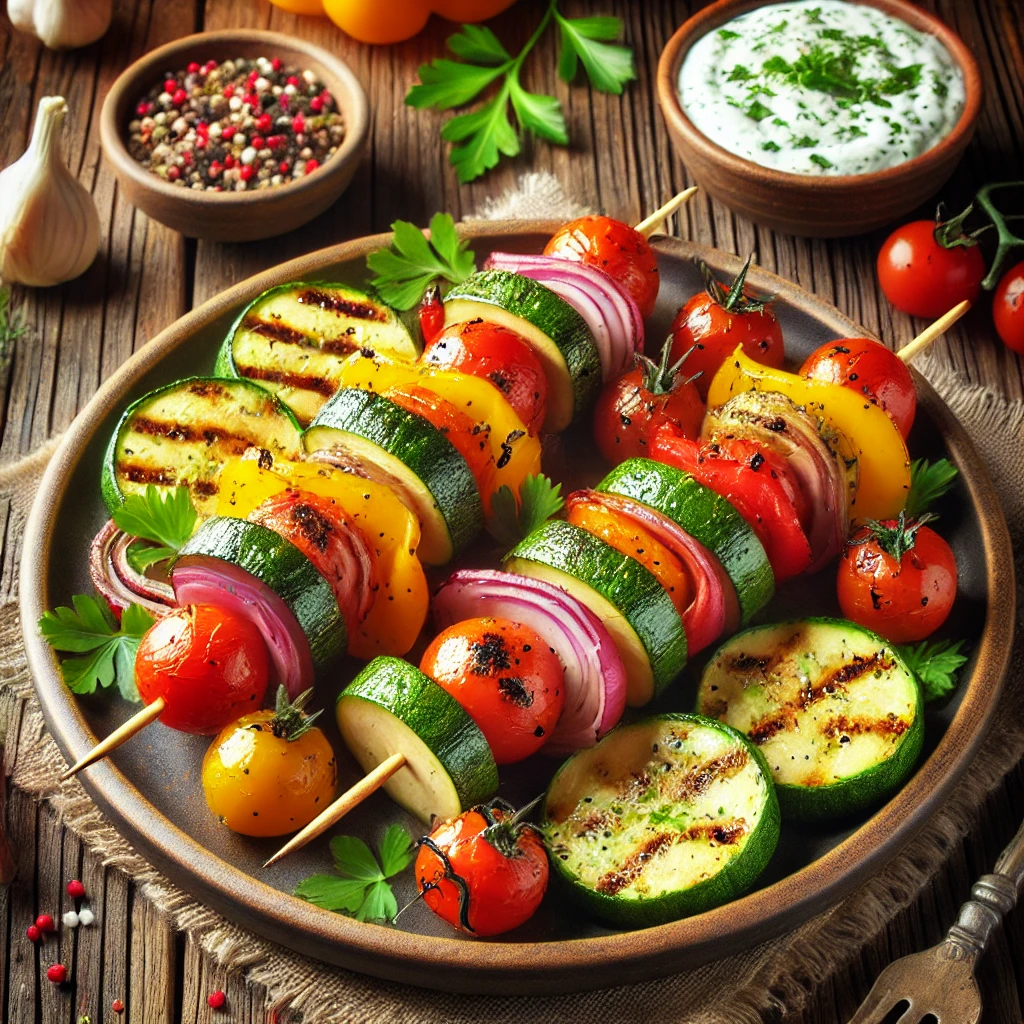
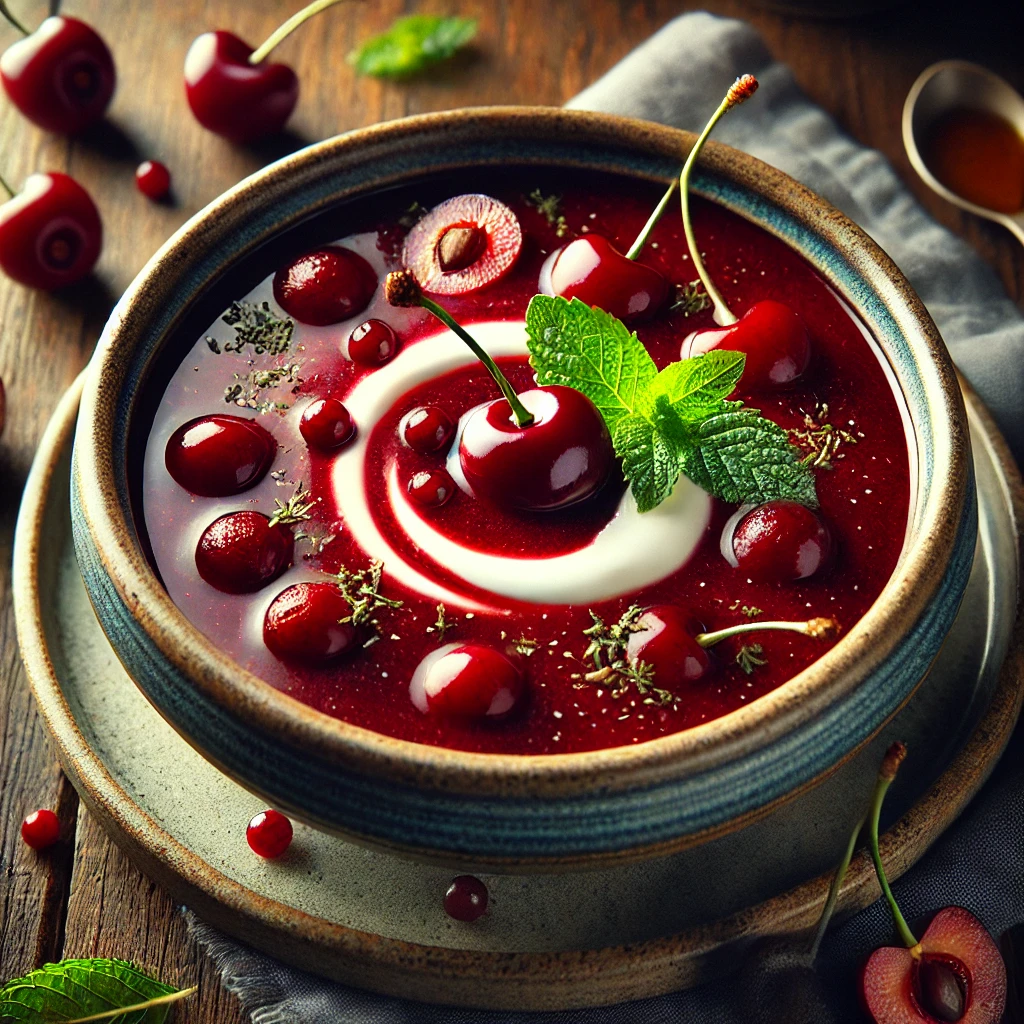
Bold & Bright Kale Pesto Spread Read More You May Also Like Veg Kebabs with Dipping Sauce – recipecollector.eu oktober 15, 2022 Sour cherry soup juni 27, 2022 Sophisticated Strawberry Macarons oktober 21, 2024
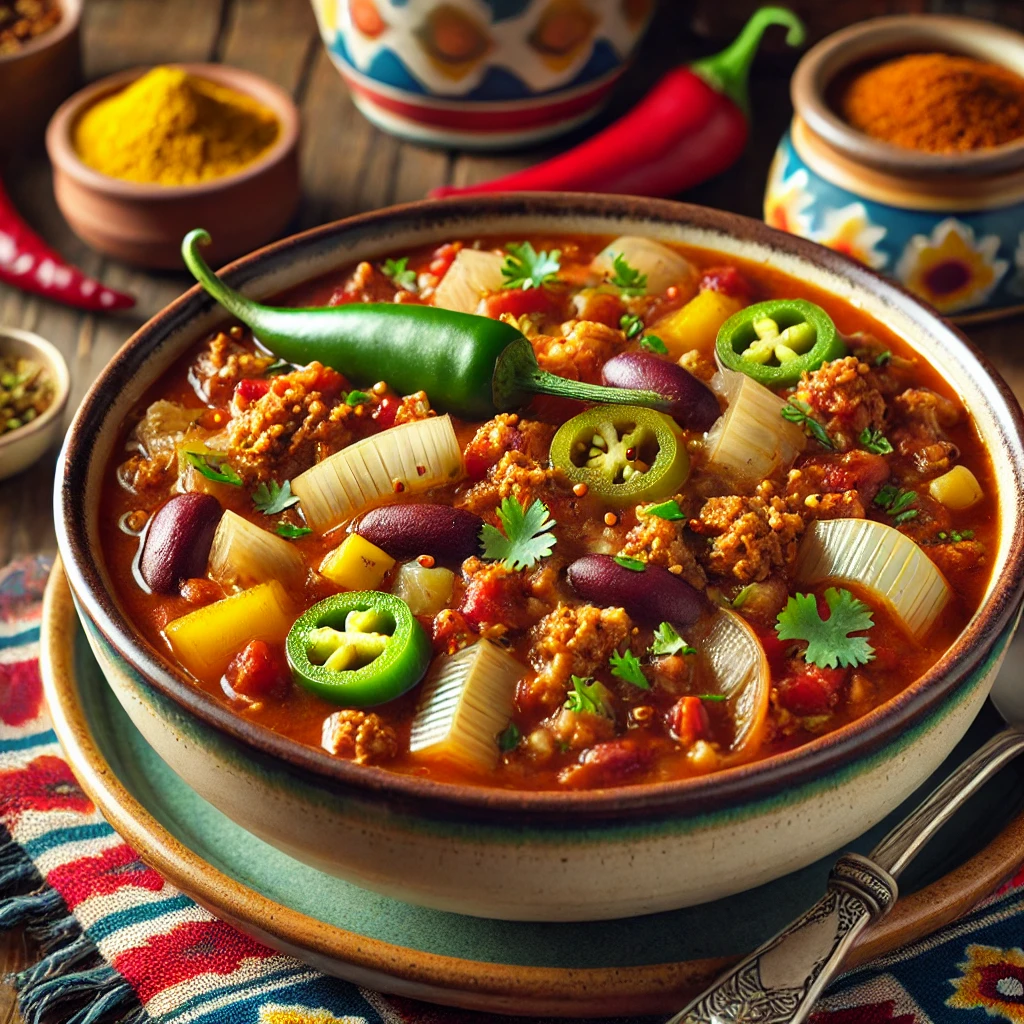
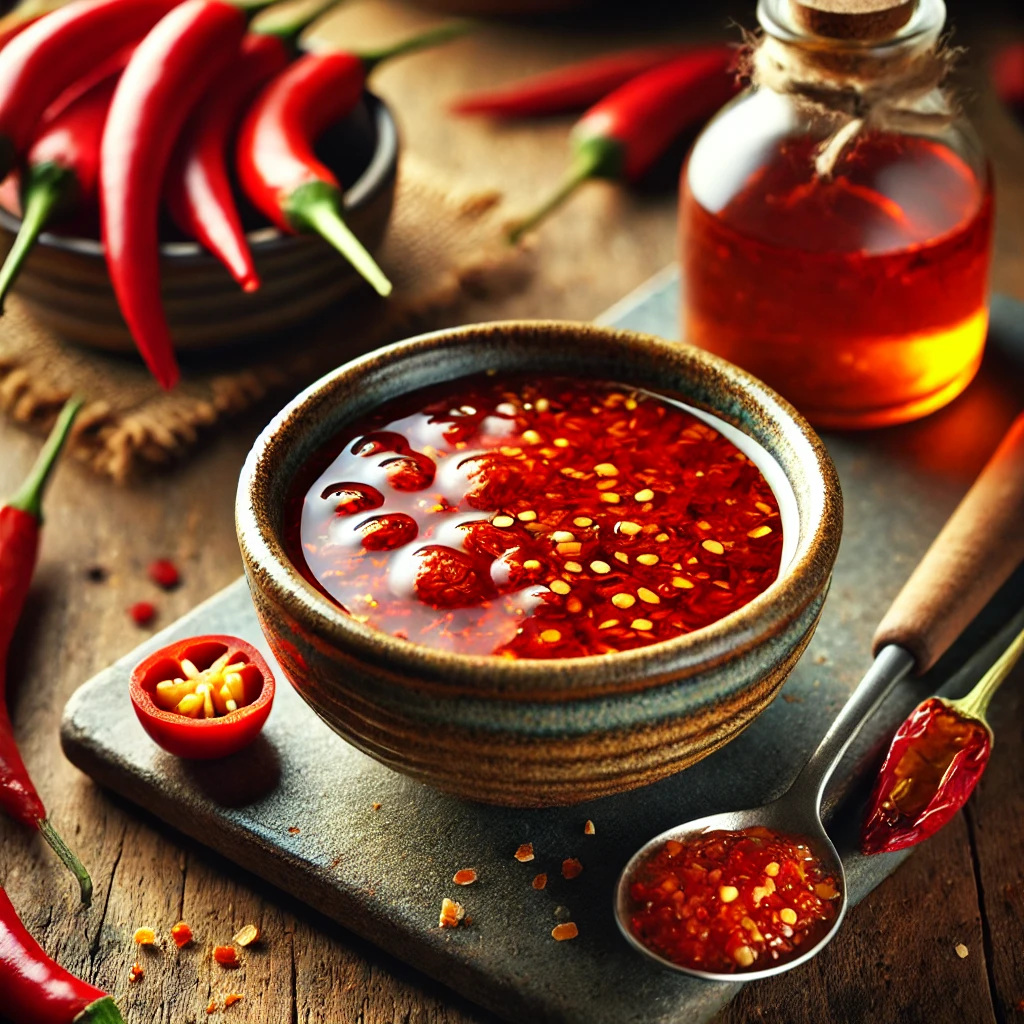
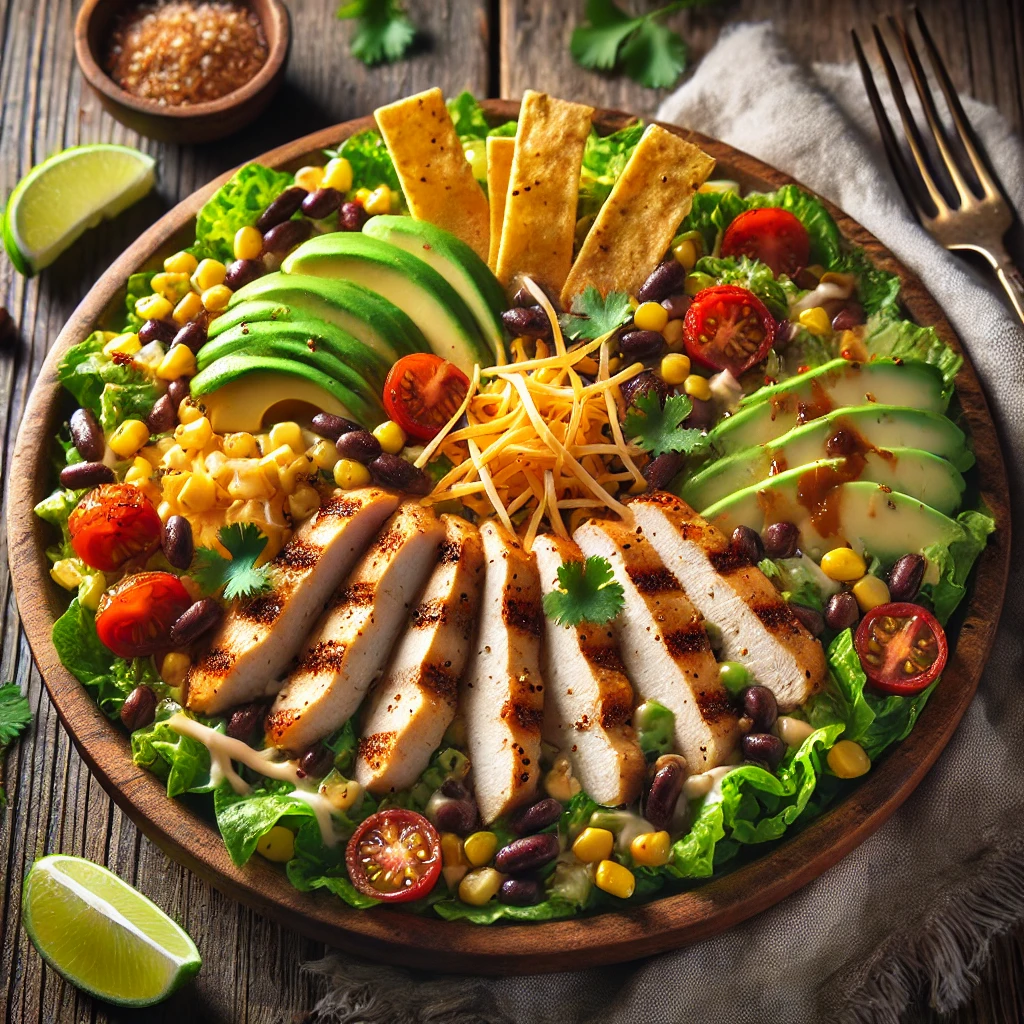
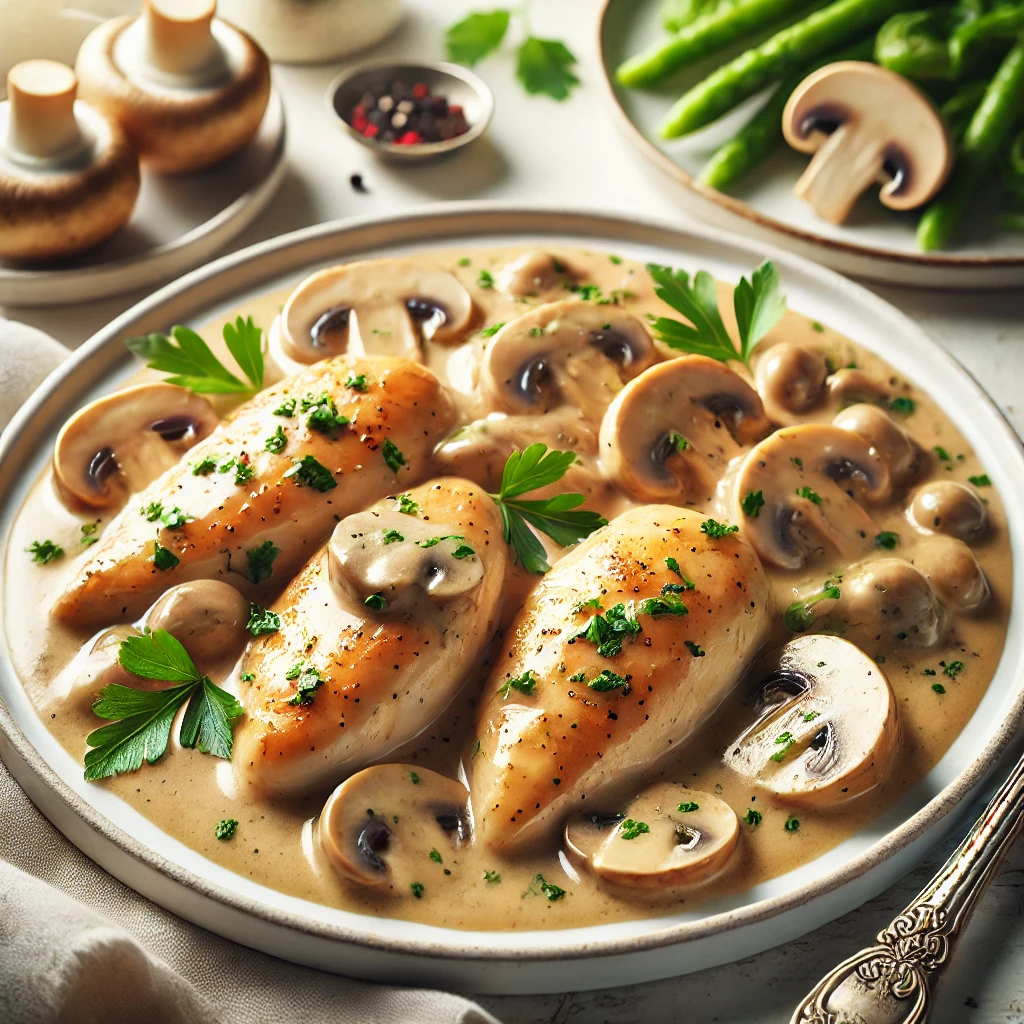
Hawaiian Chili Fusion Water Read More You May Also Like Santa Fe Chicken Salad oktober 13, 2022 Ultimate Power Smoothie augustus 11, 2024 Light Chicken in White Wine Mushroom Sauce juni 25, 2024
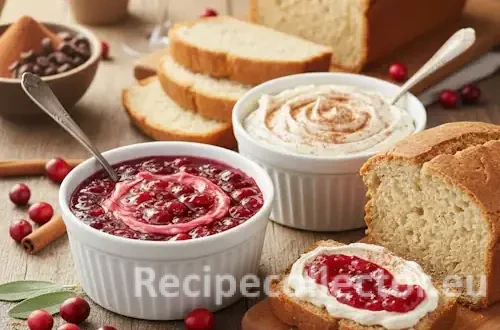
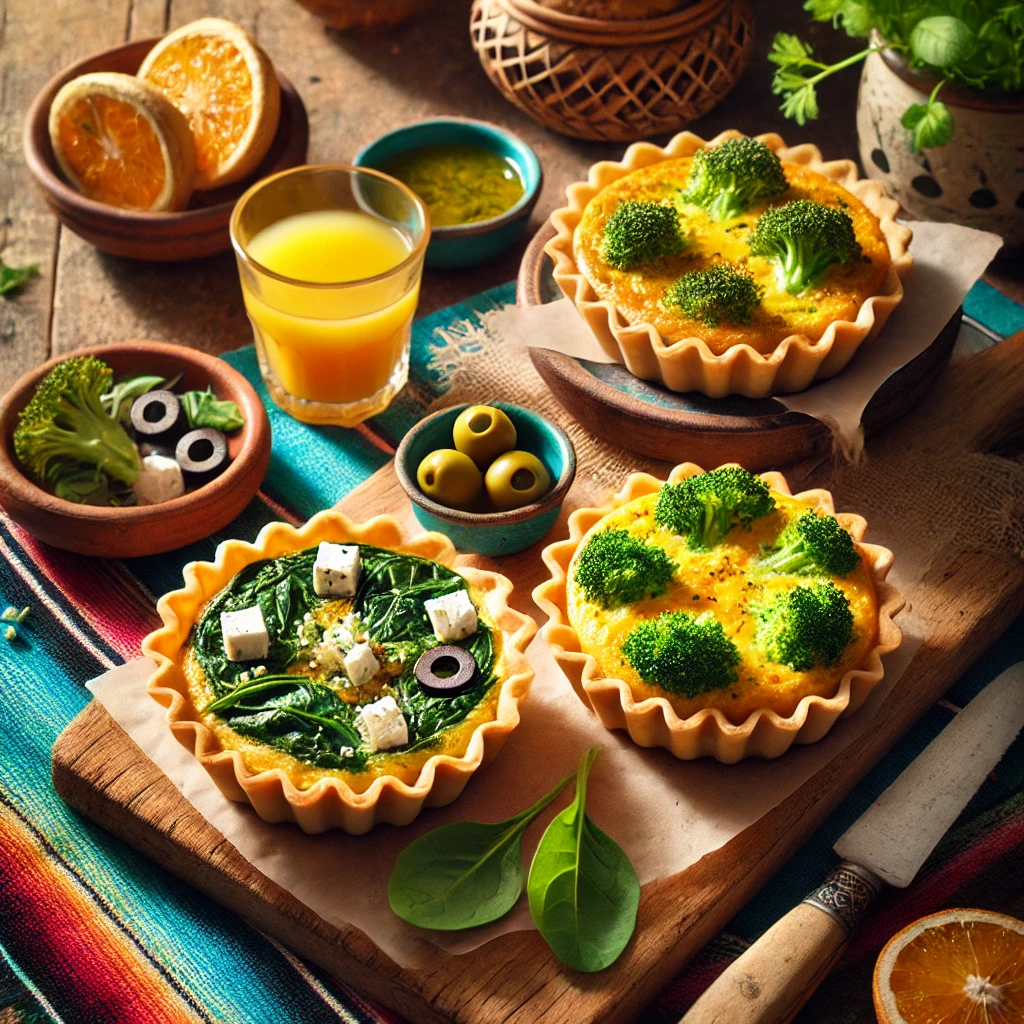
Bold Gaucho Grill Marinade Read More You May Also Like Ginger Cranberry Sauce with Cinnamon Cream Cheese Spread februari 13, 2025 White Chocolate Raspberry Breakfast Granola januari 15, 2025 Mini Phyllo-Crust Quiches: Mediterranean & Broccoli Cheddar januari 15, 2025
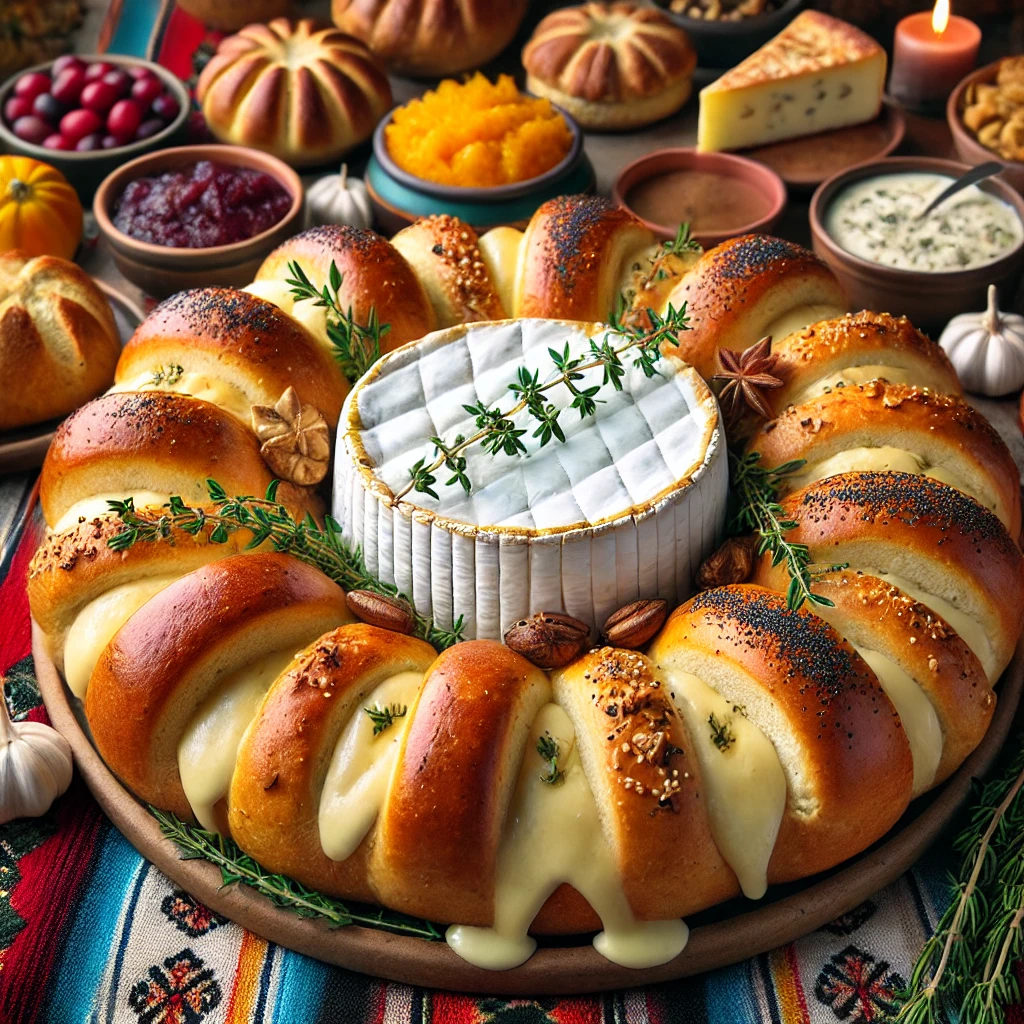
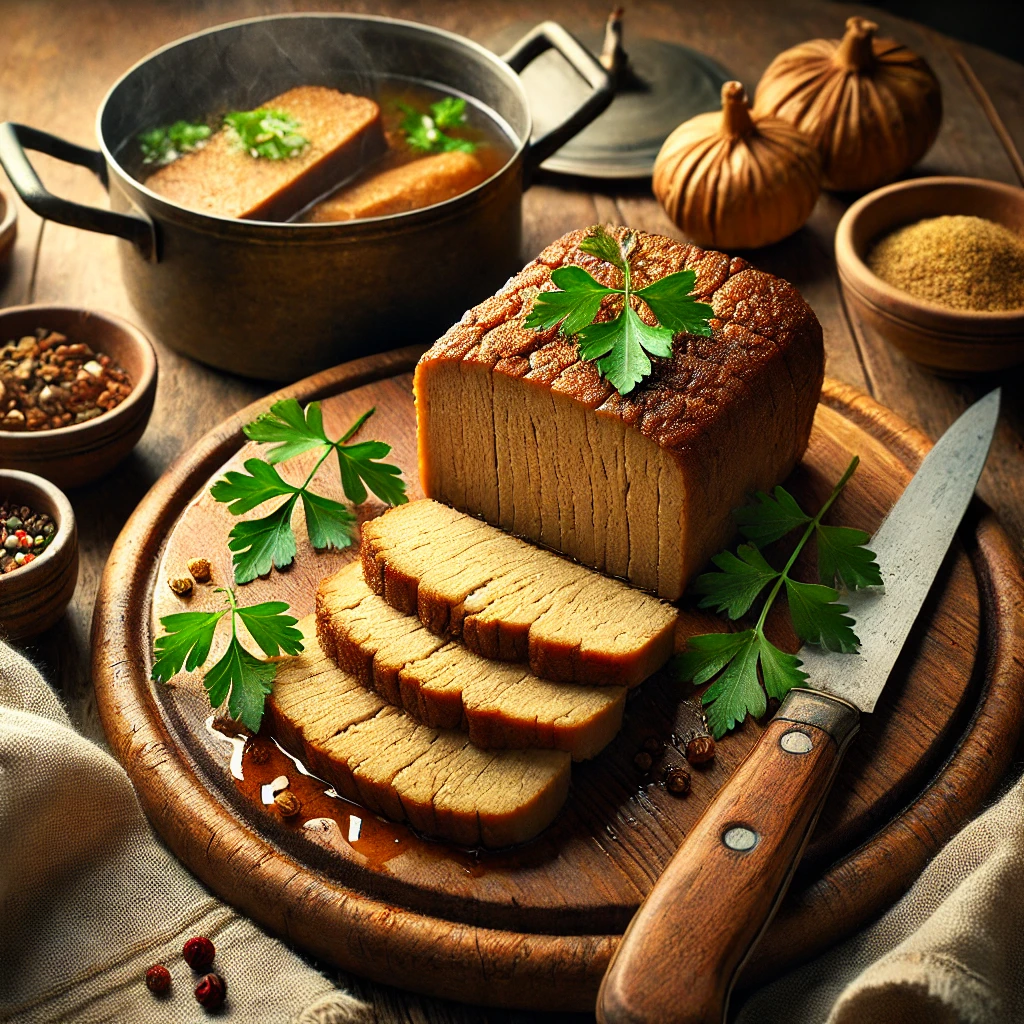
Green Tomato Sauce Read More You May Also Like Festive-Filled Brioche Centerpiece with Baked Camembert november 12, 2024 Hearty Beef and Kale Omelet november 9, 2024 Traditional Homemade Boiled Seitan januari 22, 2025
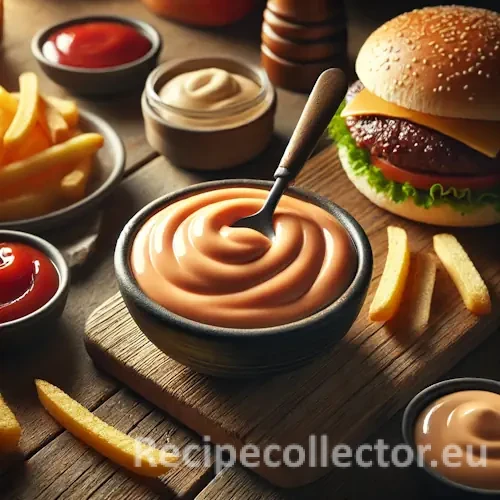
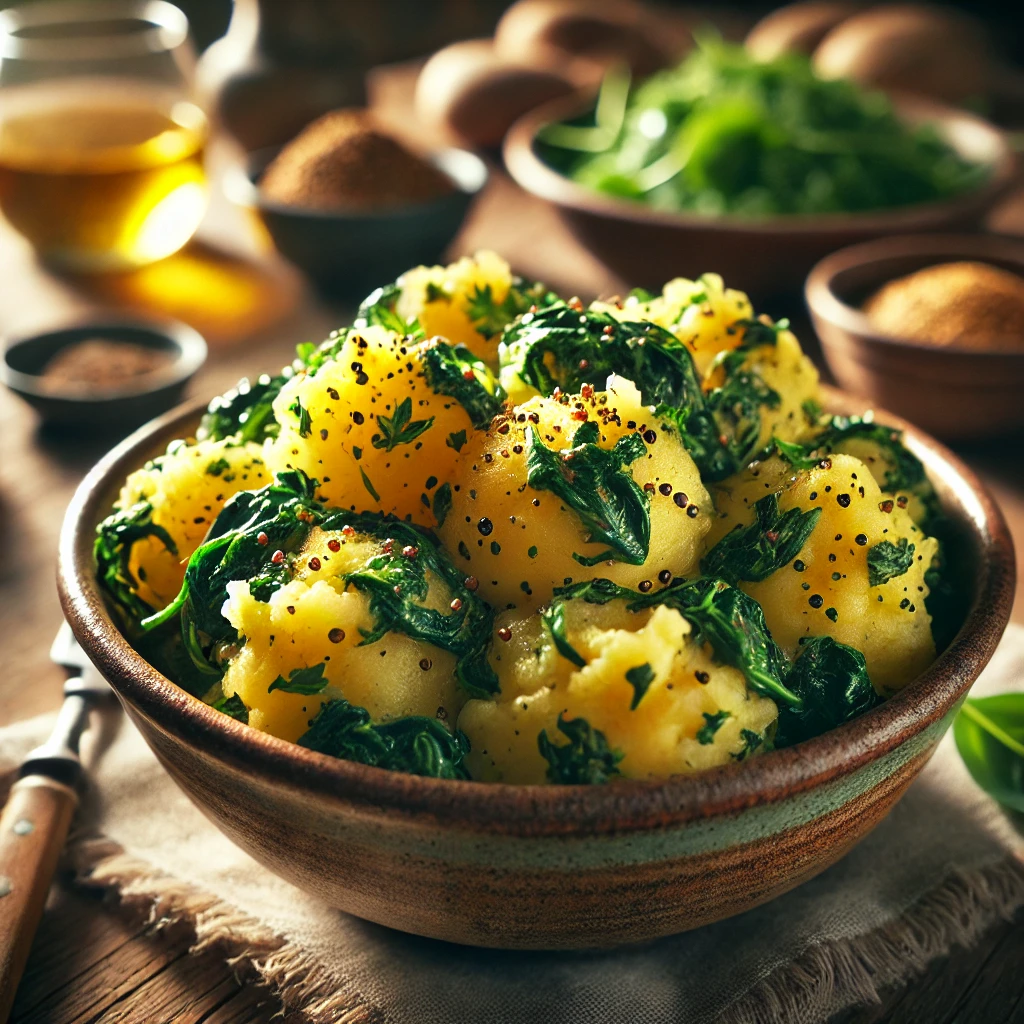
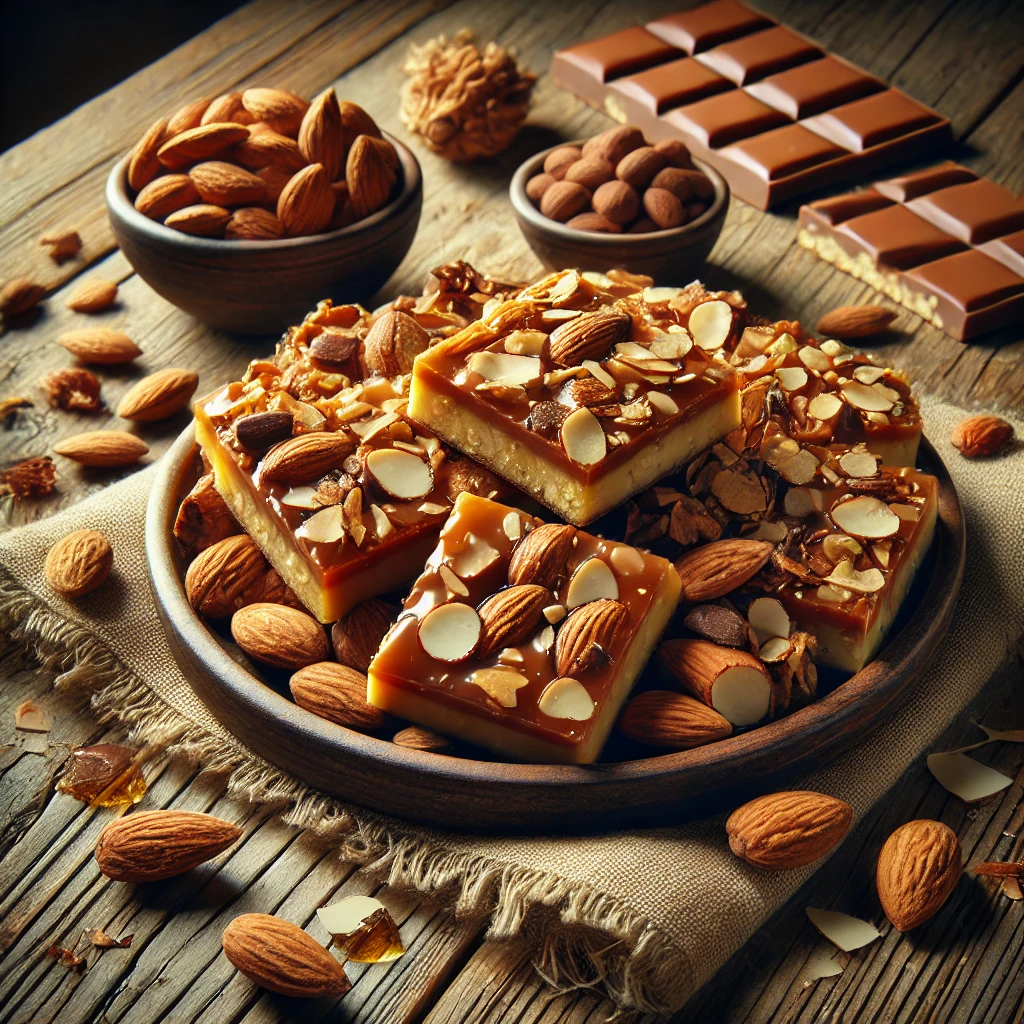
Creamy Signature Burger & Fry Sauce Read More You May Also Like Mustard and Spinach Smashed Potatoes februari 14, 2025 Almond Toffee oktober 10, 2022 Heart Brownie Cupcakes september 29, 2022
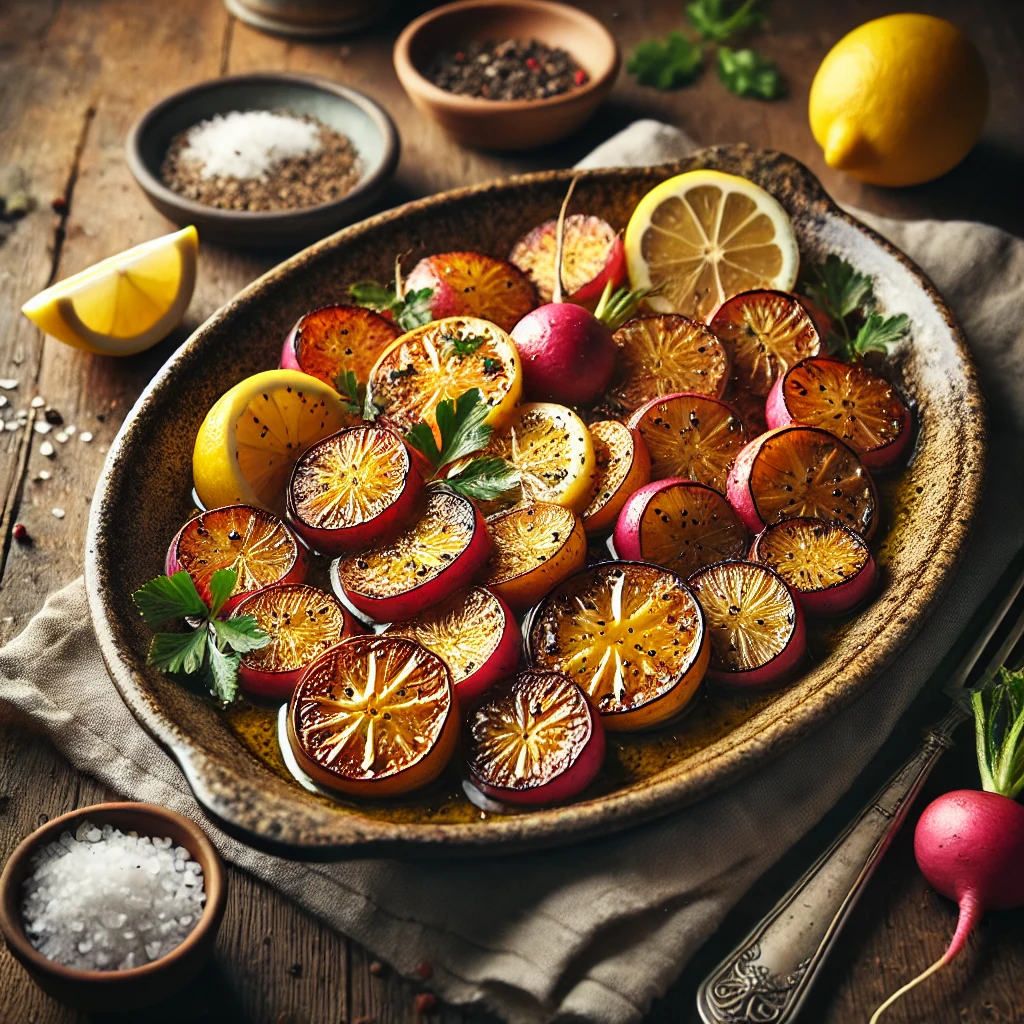
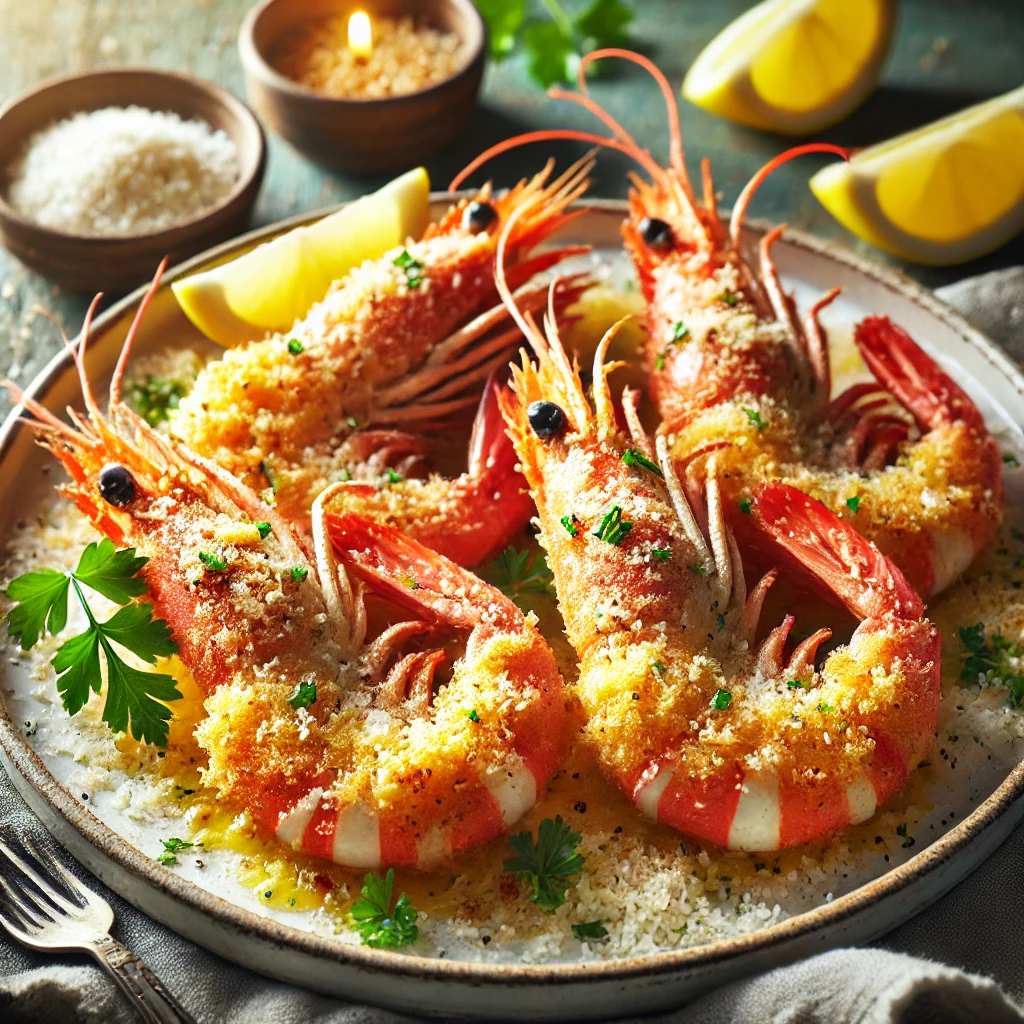
Buffalo Sauce Buffalo Sauce Read More You May Also Like Roasted Lemon Radishes mei 11, 2022 Crispy Prawns alla Parmigiana december 5, 2024 Chocolate & Butterscotch Fudge augustus 2, 2022
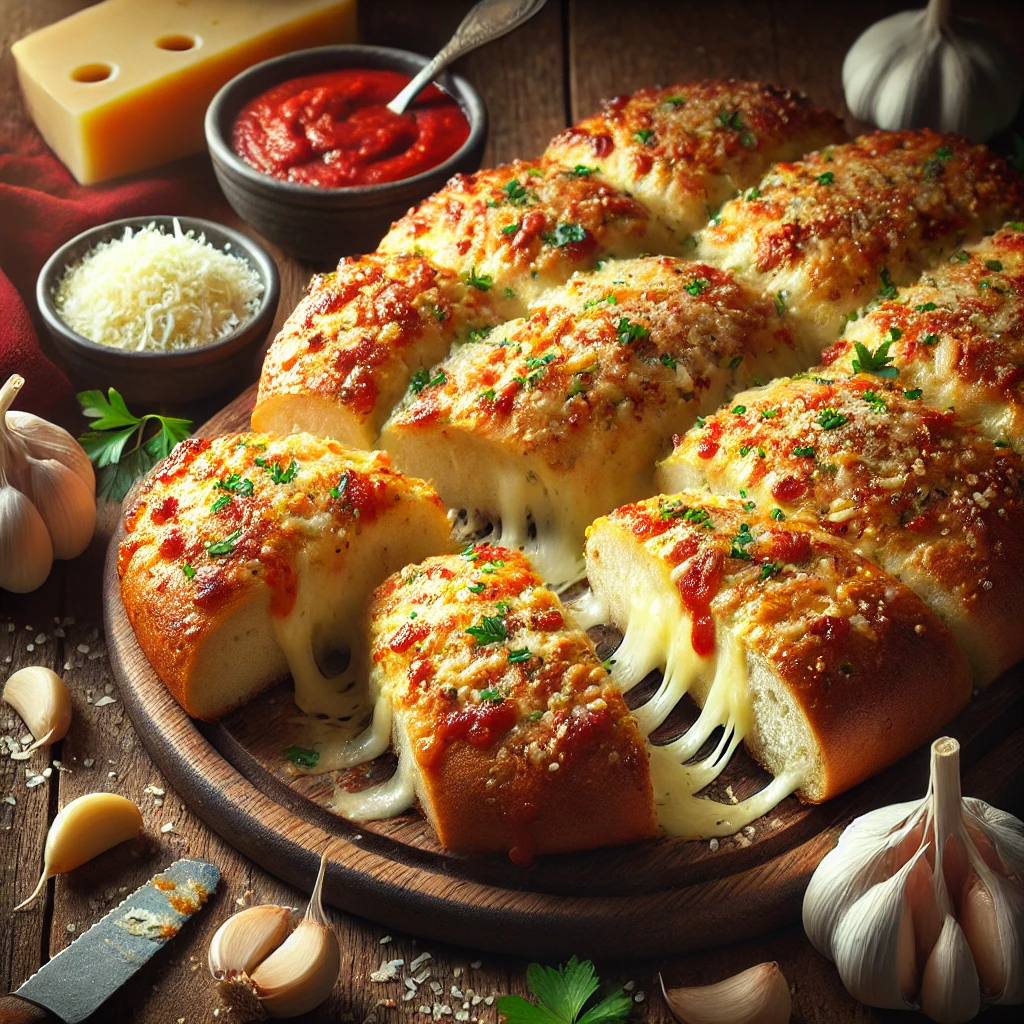
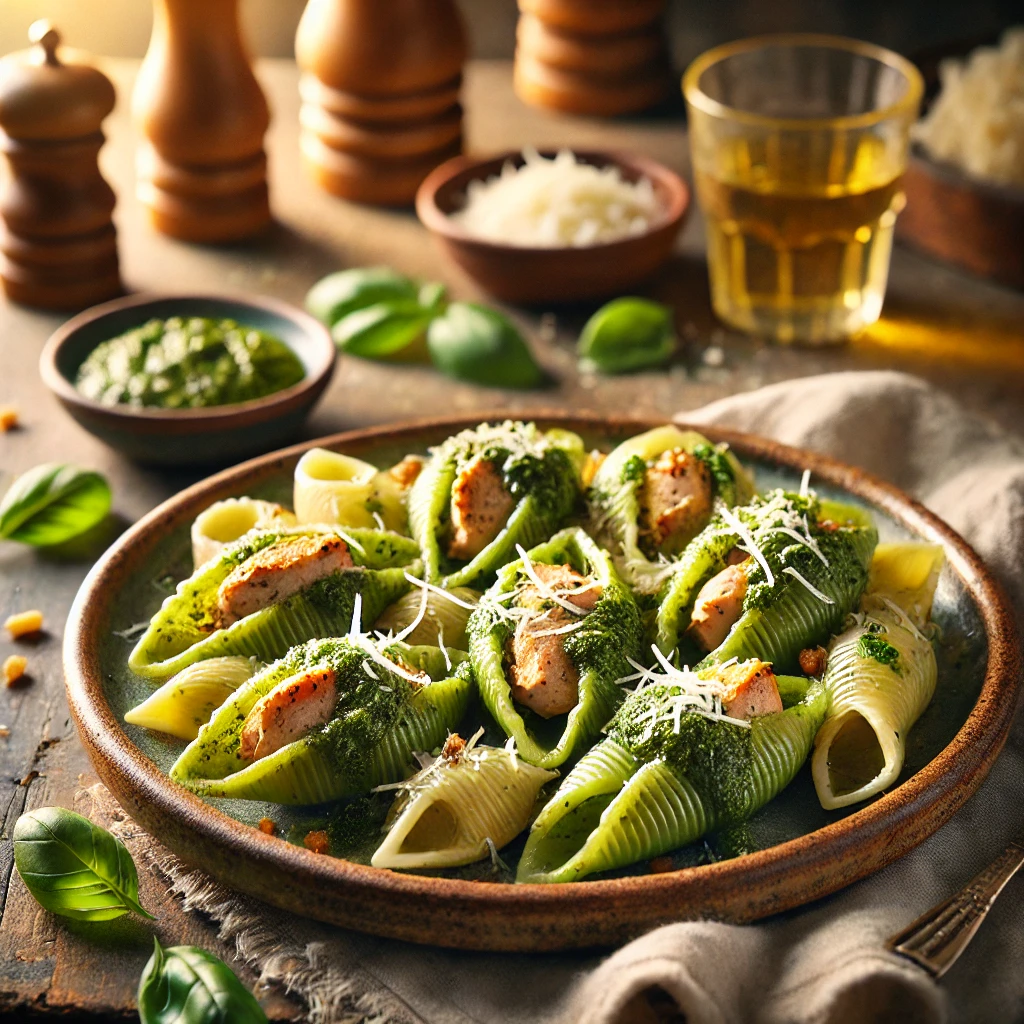
Orange Chipotle Barbecue Sauce Read More You May Also Like Black Angus Garlic Cheese Bread mei 1, 2022 Rustic Chicken and Rice Bake juni 24, 2024 Pesto Chicken Shells juli 26, 2022
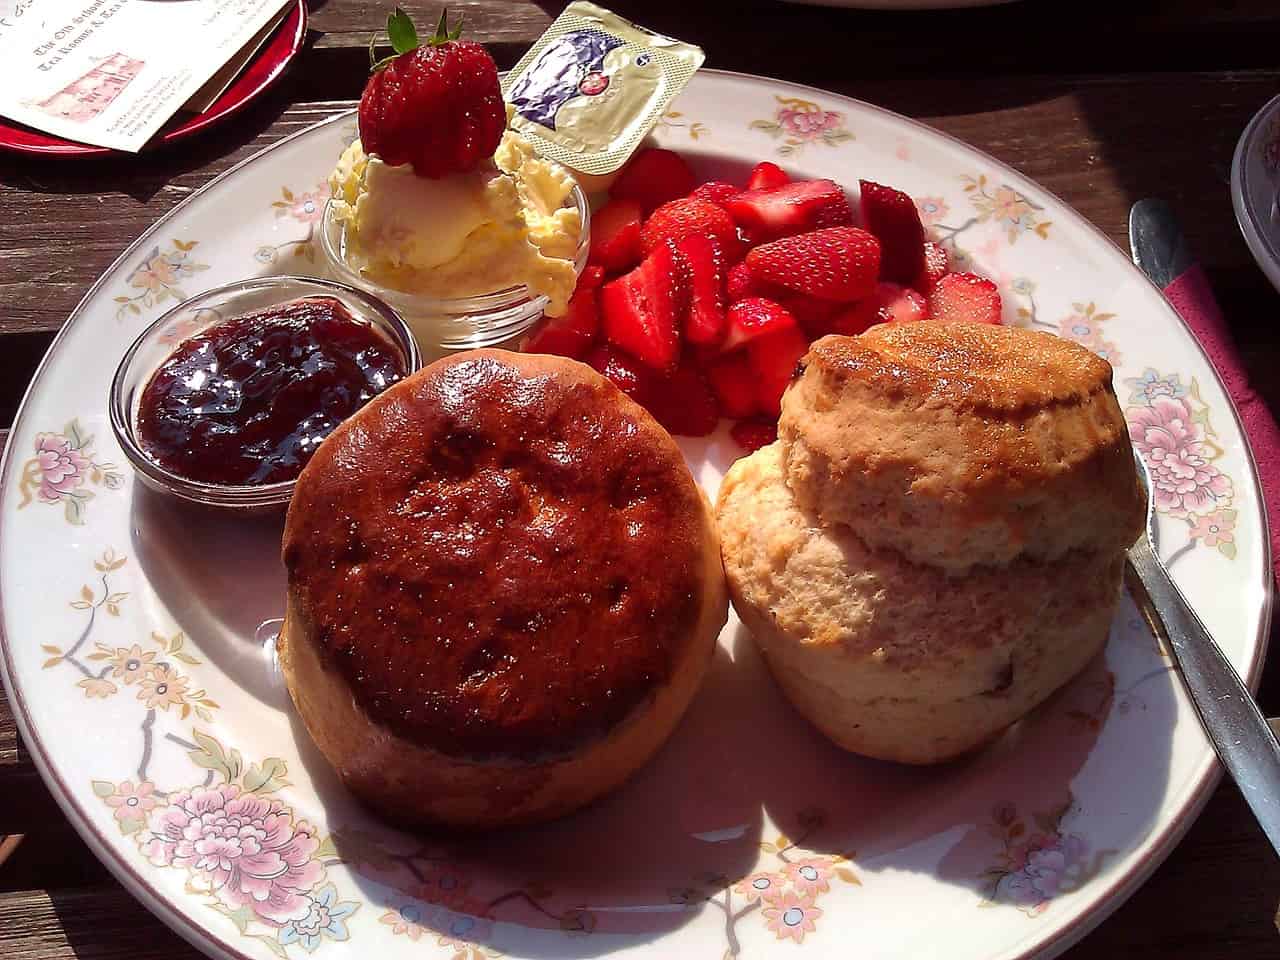
Meaty Marinara Read More You May Also Like Simple Air-Fried Lamb Chops december 28, 2022 Almond Meringue with Summer Berries and Kirsch Cream mei 17, 2022 Toasted Oat Scones juli 31, 2023